This guide is designed to provide a comprehensive introduction on how to purchase your first security token on the IXS security token exchange. As the IXS app is a decentralized application, a wallet is required to use it. IXS currently supports Metamask, Coinbase Wallet and WalletConnect.
In this guide, we will:
- Show you how to set up a self-custodial wallet like Metamask on your browser.
- Buy your first security token via the IXS platform.
Note: Security tokens in this article specifically refer to Real World Asset (RWA) tokens - the digital tokens that represent specific rights to the underlying asset being tokenized.
Set Up A Metamask Wallet Account
1. Install MetaMask Extension For Your Browser
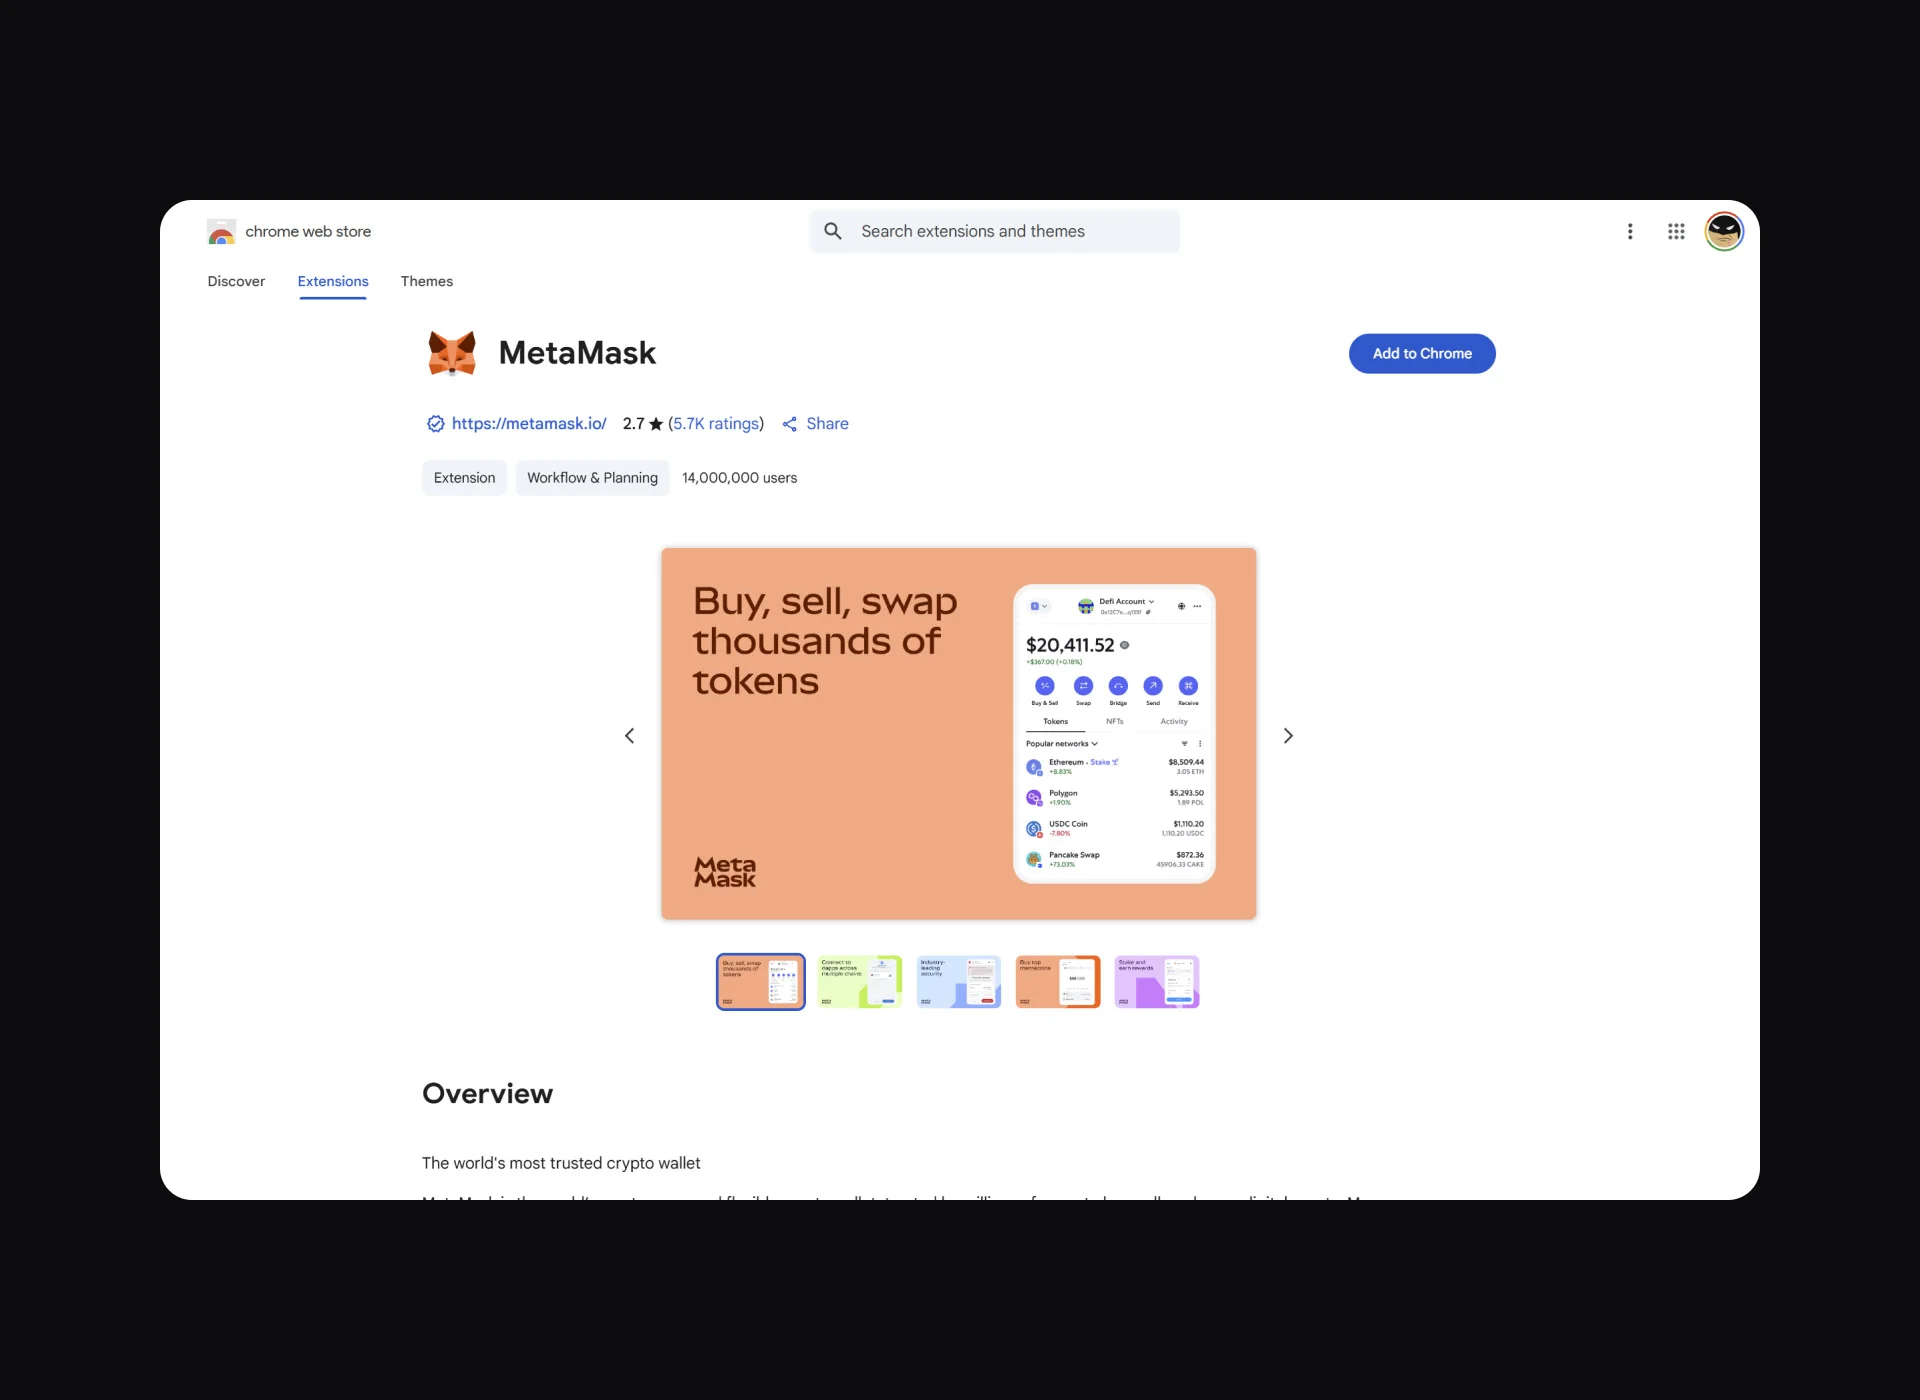
Head to https://metamask.io/download and select your preferred browser to install the MetaMask extension. Clicking the browser icon (we will use Google Chrome as an example) will redirect you to the appropriate Web Store.

2. Install The Extension
Click “Add To Chrome” then "Add Extension" in the pop-up window.
3. Create or Import Your Metamask Wallet
From here, click “Create a new wallet” to create a new one or "I have an existing wallet" to import an existing one. Then follow the instructions to complete wallet creation.

When your wallet is ready, you can pin the extension on your browser for convenience.
For more information on getting started with Metamask, check out their guide here.
Adding a new network
To add a new network to your MetaMask wallet, you need to do it manually since cryptocurrencies and tokens operate on different networks.
In your MetaMask extension, click on the menu in the top right and select 'Networks'.
Since our security tokens are traded on Polygon, we will add this network. To add "Polygon Mainnet" click "Add" and then “Save” the network.


If the network you want to add isn't on the list, click "Add a network manually" and insert the necessary values provided by the network or project operating on that network.
Once approved, you'll be redirected to the dashboard, where you'll have the option to switch networks. To switch to Polygon Mainnet, click "Polygon Mainnet."
Adding funds to your wallet
Now that we're on the correct network, the next step is to:
- Add POL to use as transaction fees on Metamask.
- Add IXS token or USDC token to use as the purchase currency for security tokens on IXS.
Buy the tokens:
- For IXS tokens, check out the guide: How To Buy IXS
- For POL tokens, you can purchase them directly in MetaMask or via a list of markets featured on CoinMarketCap. The token contract addresses are also available there.
- For USDC tokens, you can purchase them directly in MetaMask or via a list of markets featured on CoinMarketCap. The token contract addresses are also available there.
If you buy tokens via an external platform and need to import them, please refer to MetaMask's guide on depositing tokens here.
Note: Now the appropriate contract address for IXS, keeping in mind that on the Polygon network it is called wIXS. Enter the contract address in the field "0x1ba17c639bdaecd8dc4aac37df062d17ee43a1b8" and click "Add custom token". Keeping in mind that on the Polygon network it is called wIXS.

Register Your Account On The IXS App
To proceed, register an account on the app using the same browser that you used to install MetaMask, as your account will be linked to your wallet.
Go to https://app.ixs.finance/#/ and click on "Connect Wallet". Select MetaMask and follow Metamask's pop-up instructions to "Sign" to fully connect your wallet.
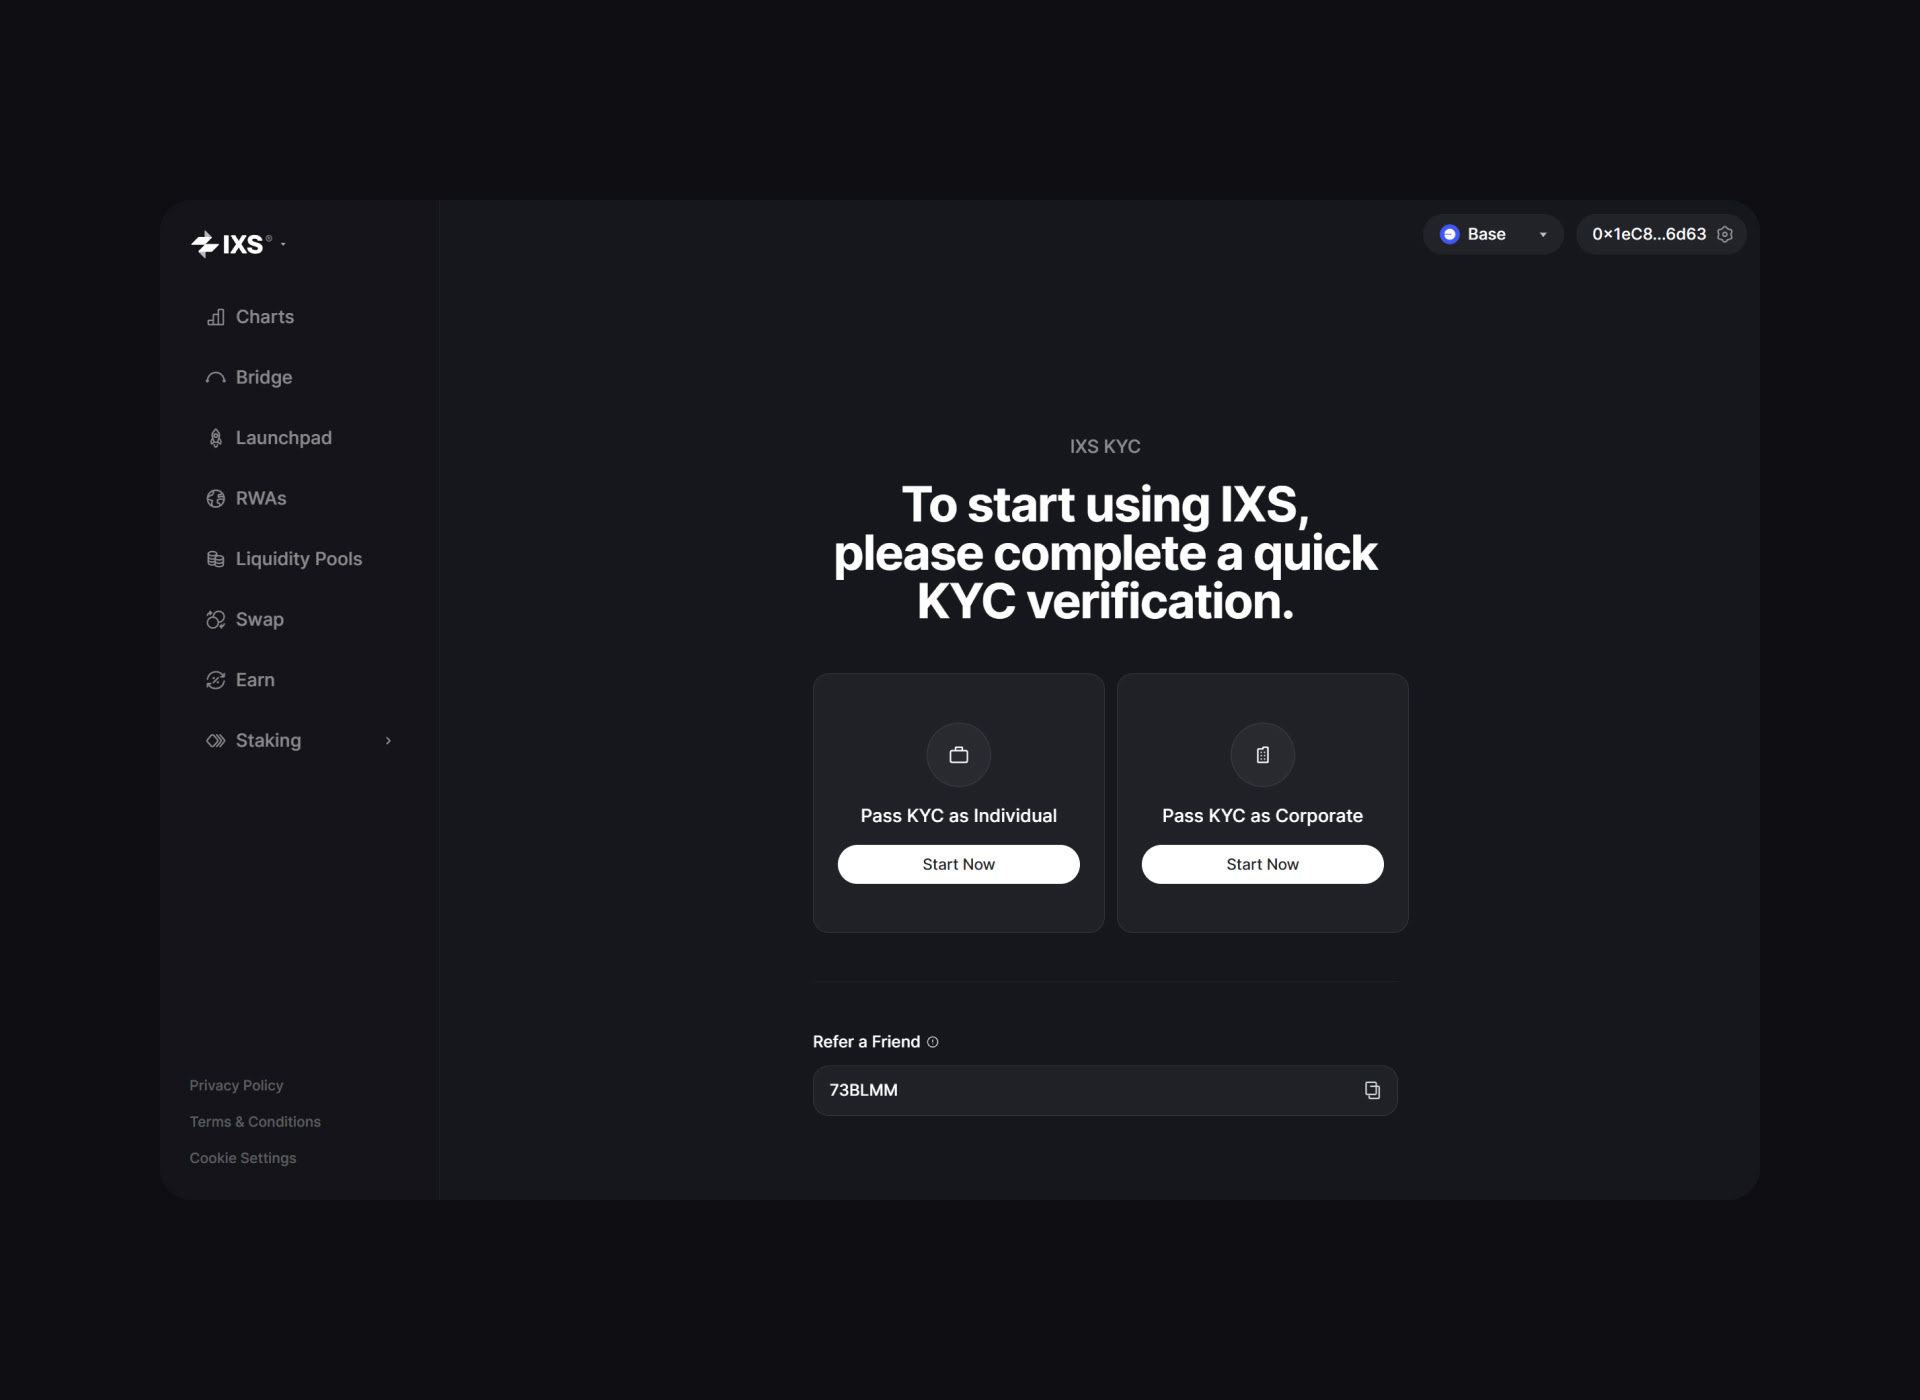
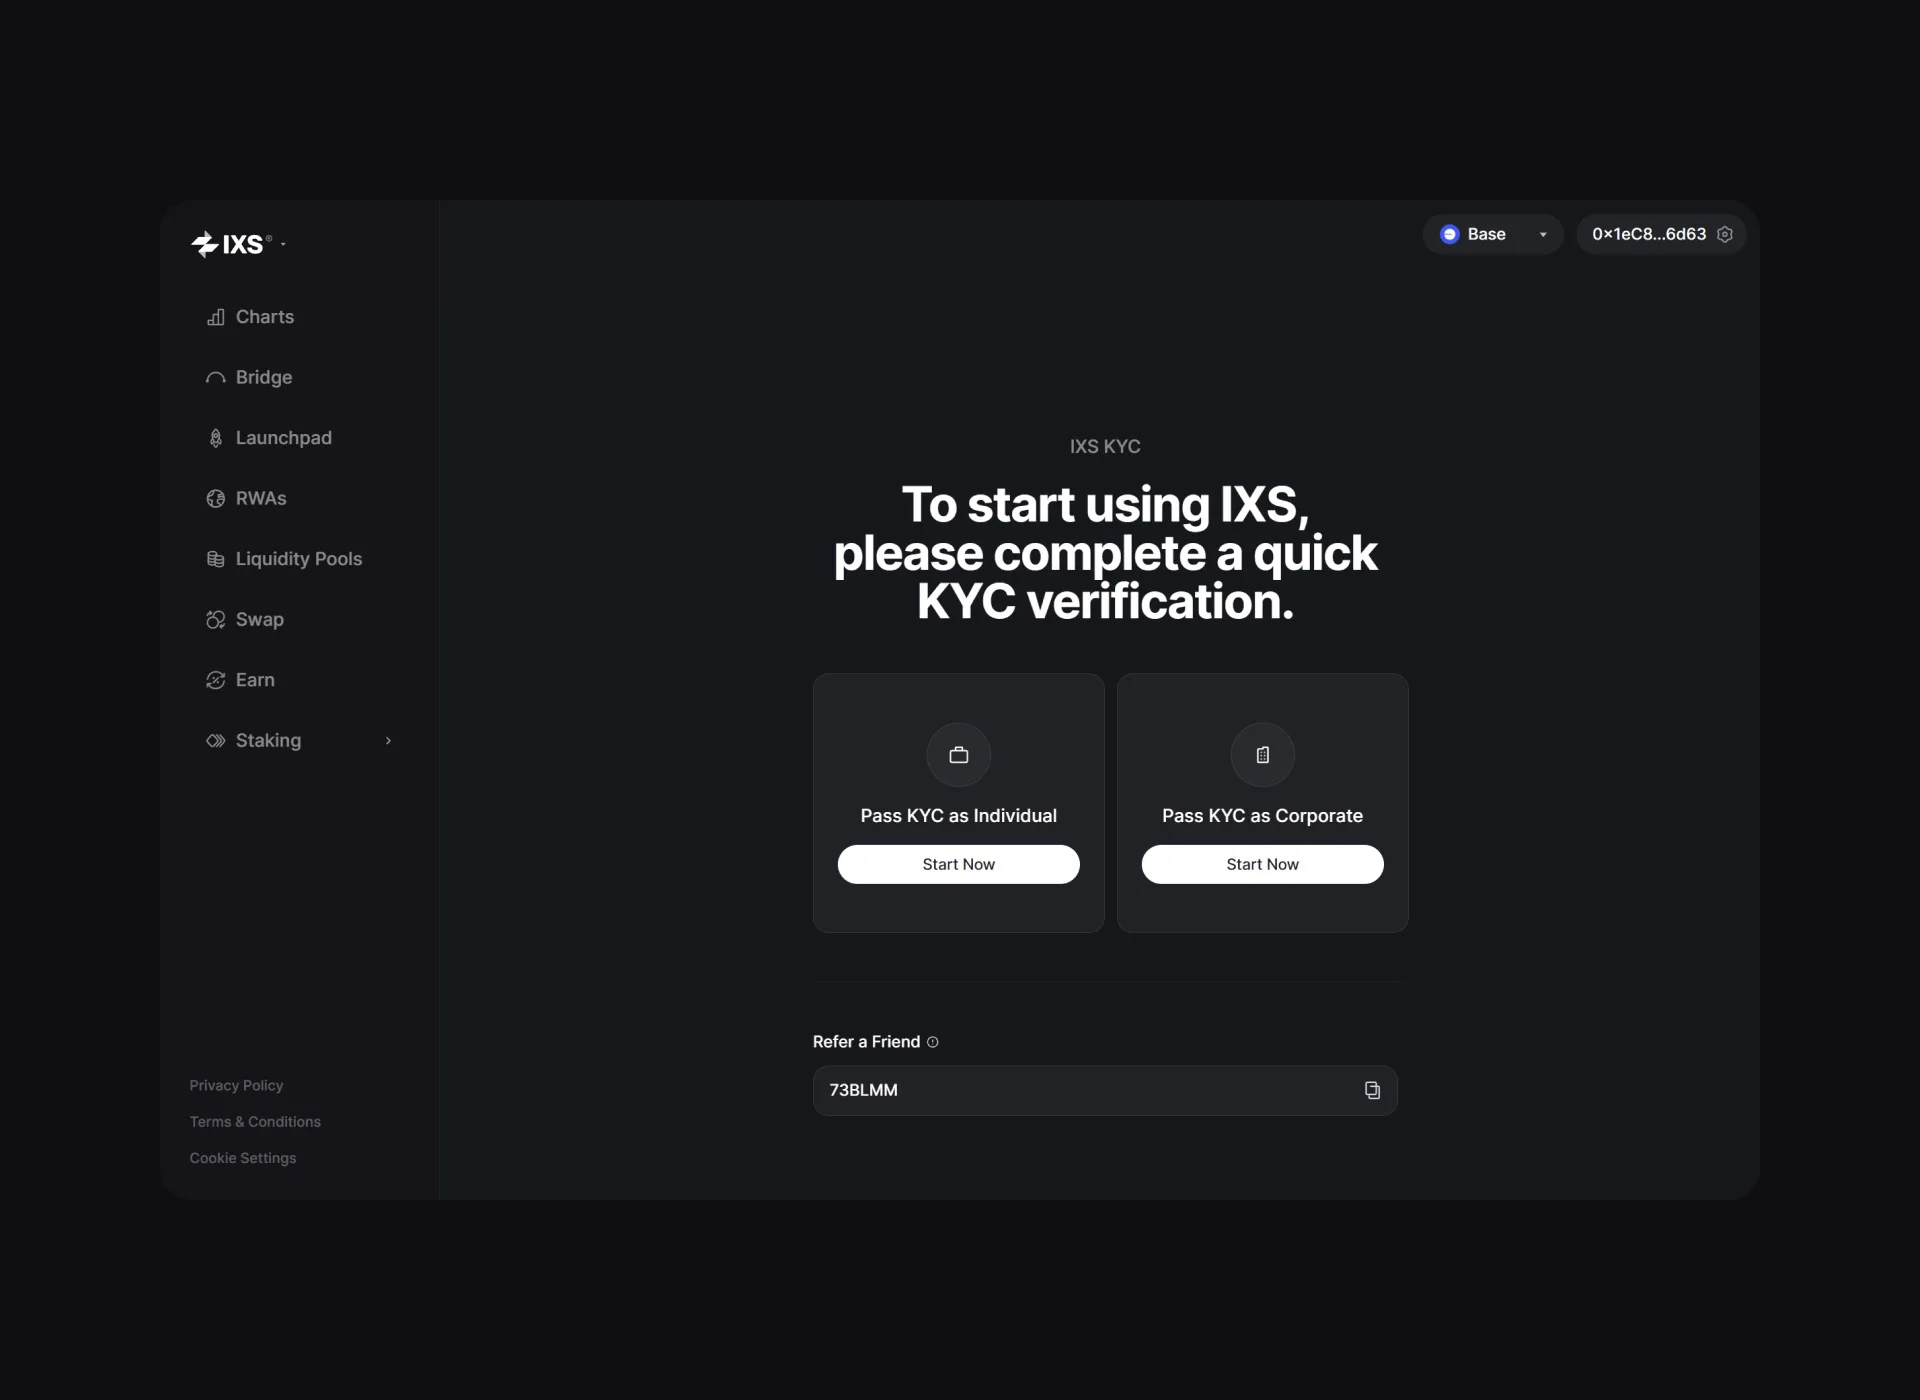
Complete KYC
Click on the appropriate sign-up button based on whether you are an individual or corporation.
Fill in your basic personal information and verify your personal email address.
Next, verify a secondary contact method this can be your Telegram account, business email, or POA.
Once everything is completed, click "Verify Document" to submit your ID or official documents for verification via the ComplyCube portal.
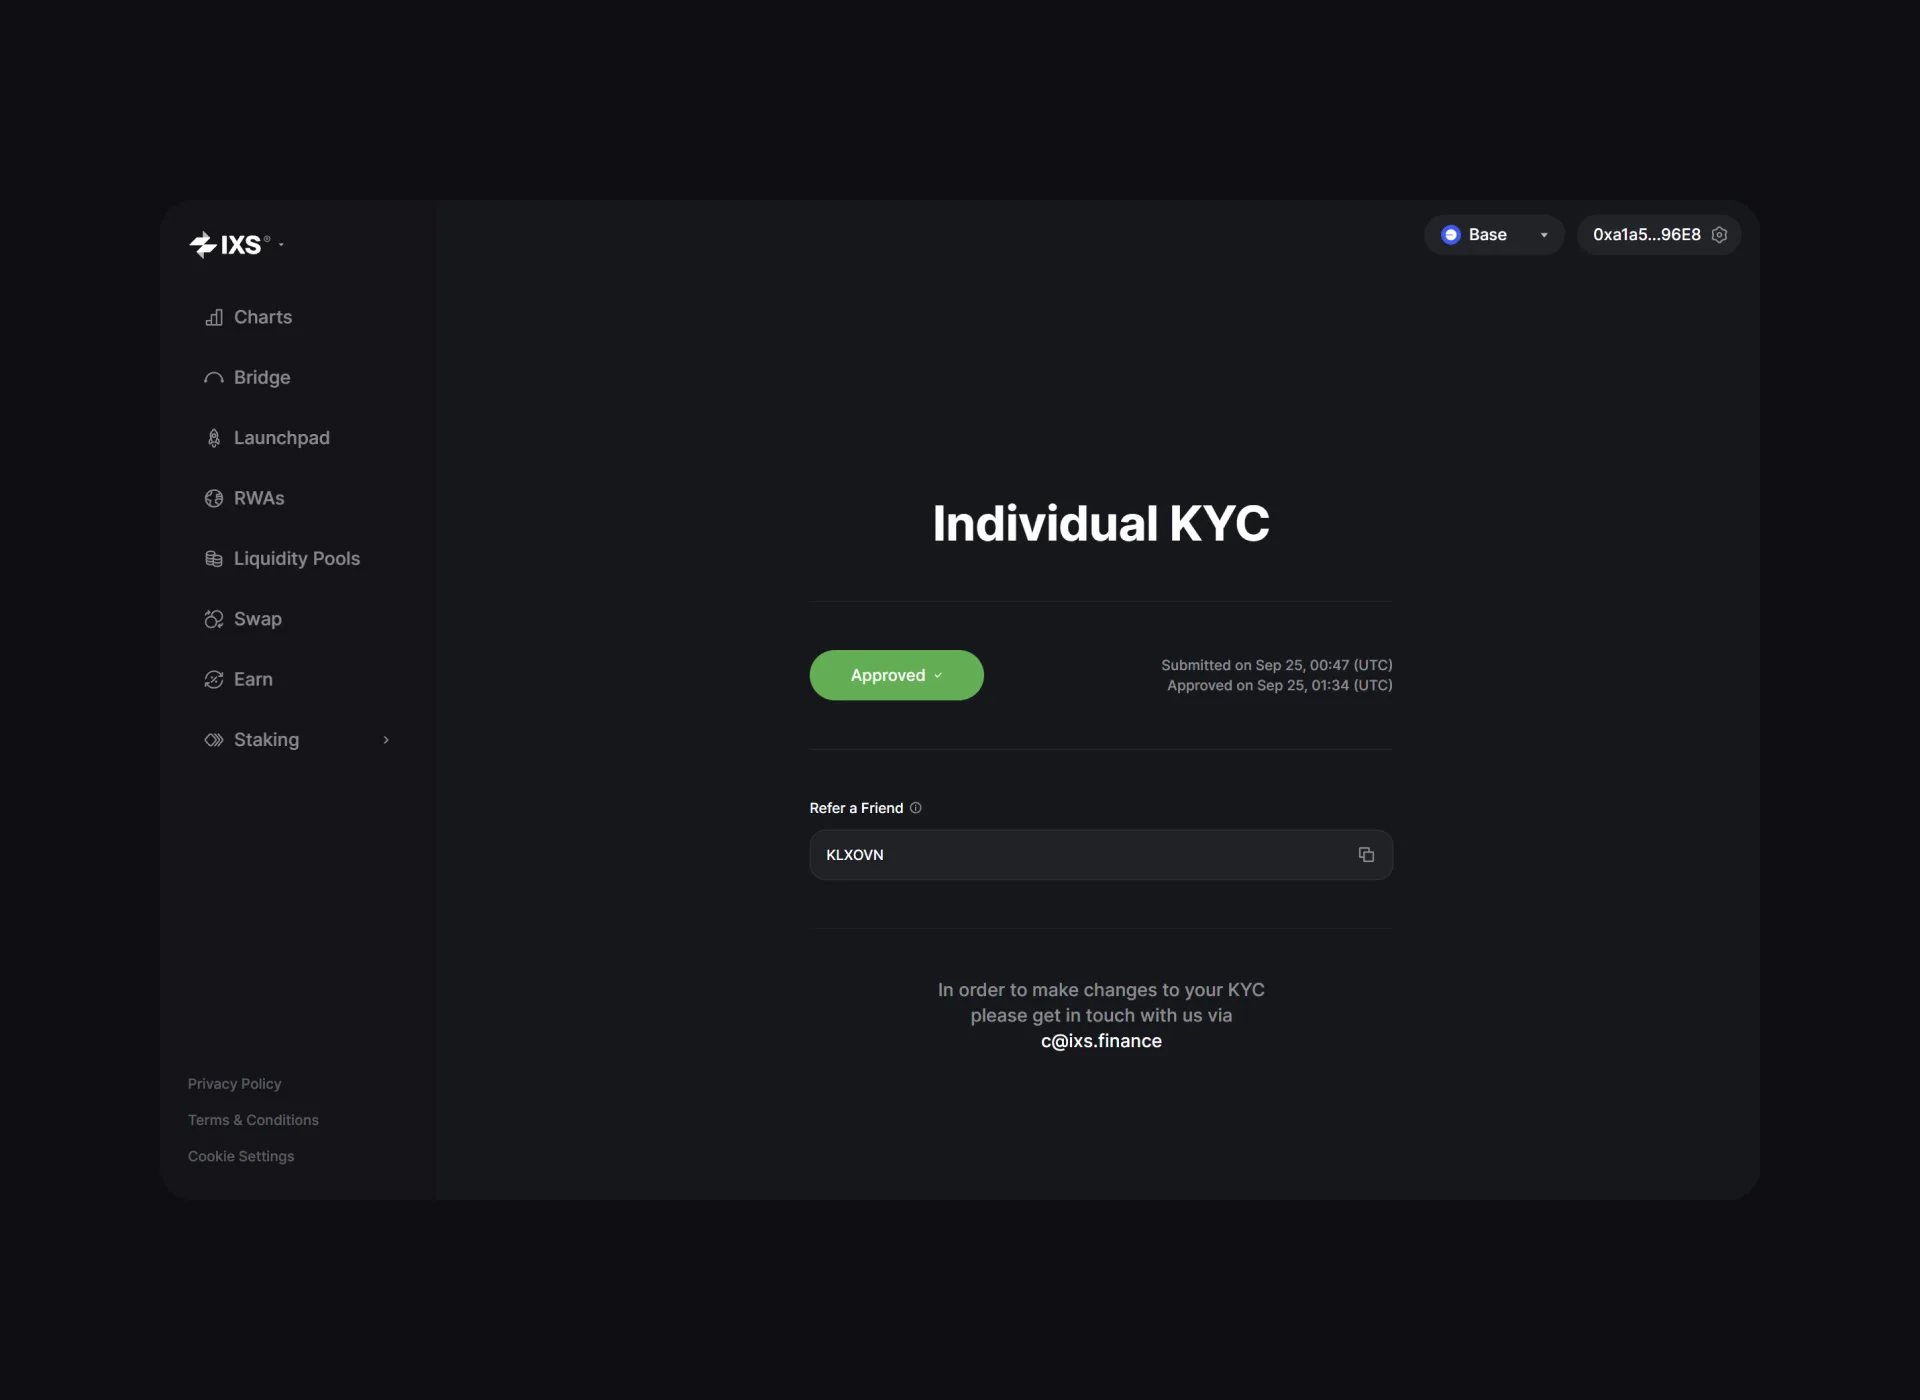
Once your account has been approved for KYC, you can start trading on the platform.
Buying your first security token
After your account has been approved, you can begin trading on the platform.
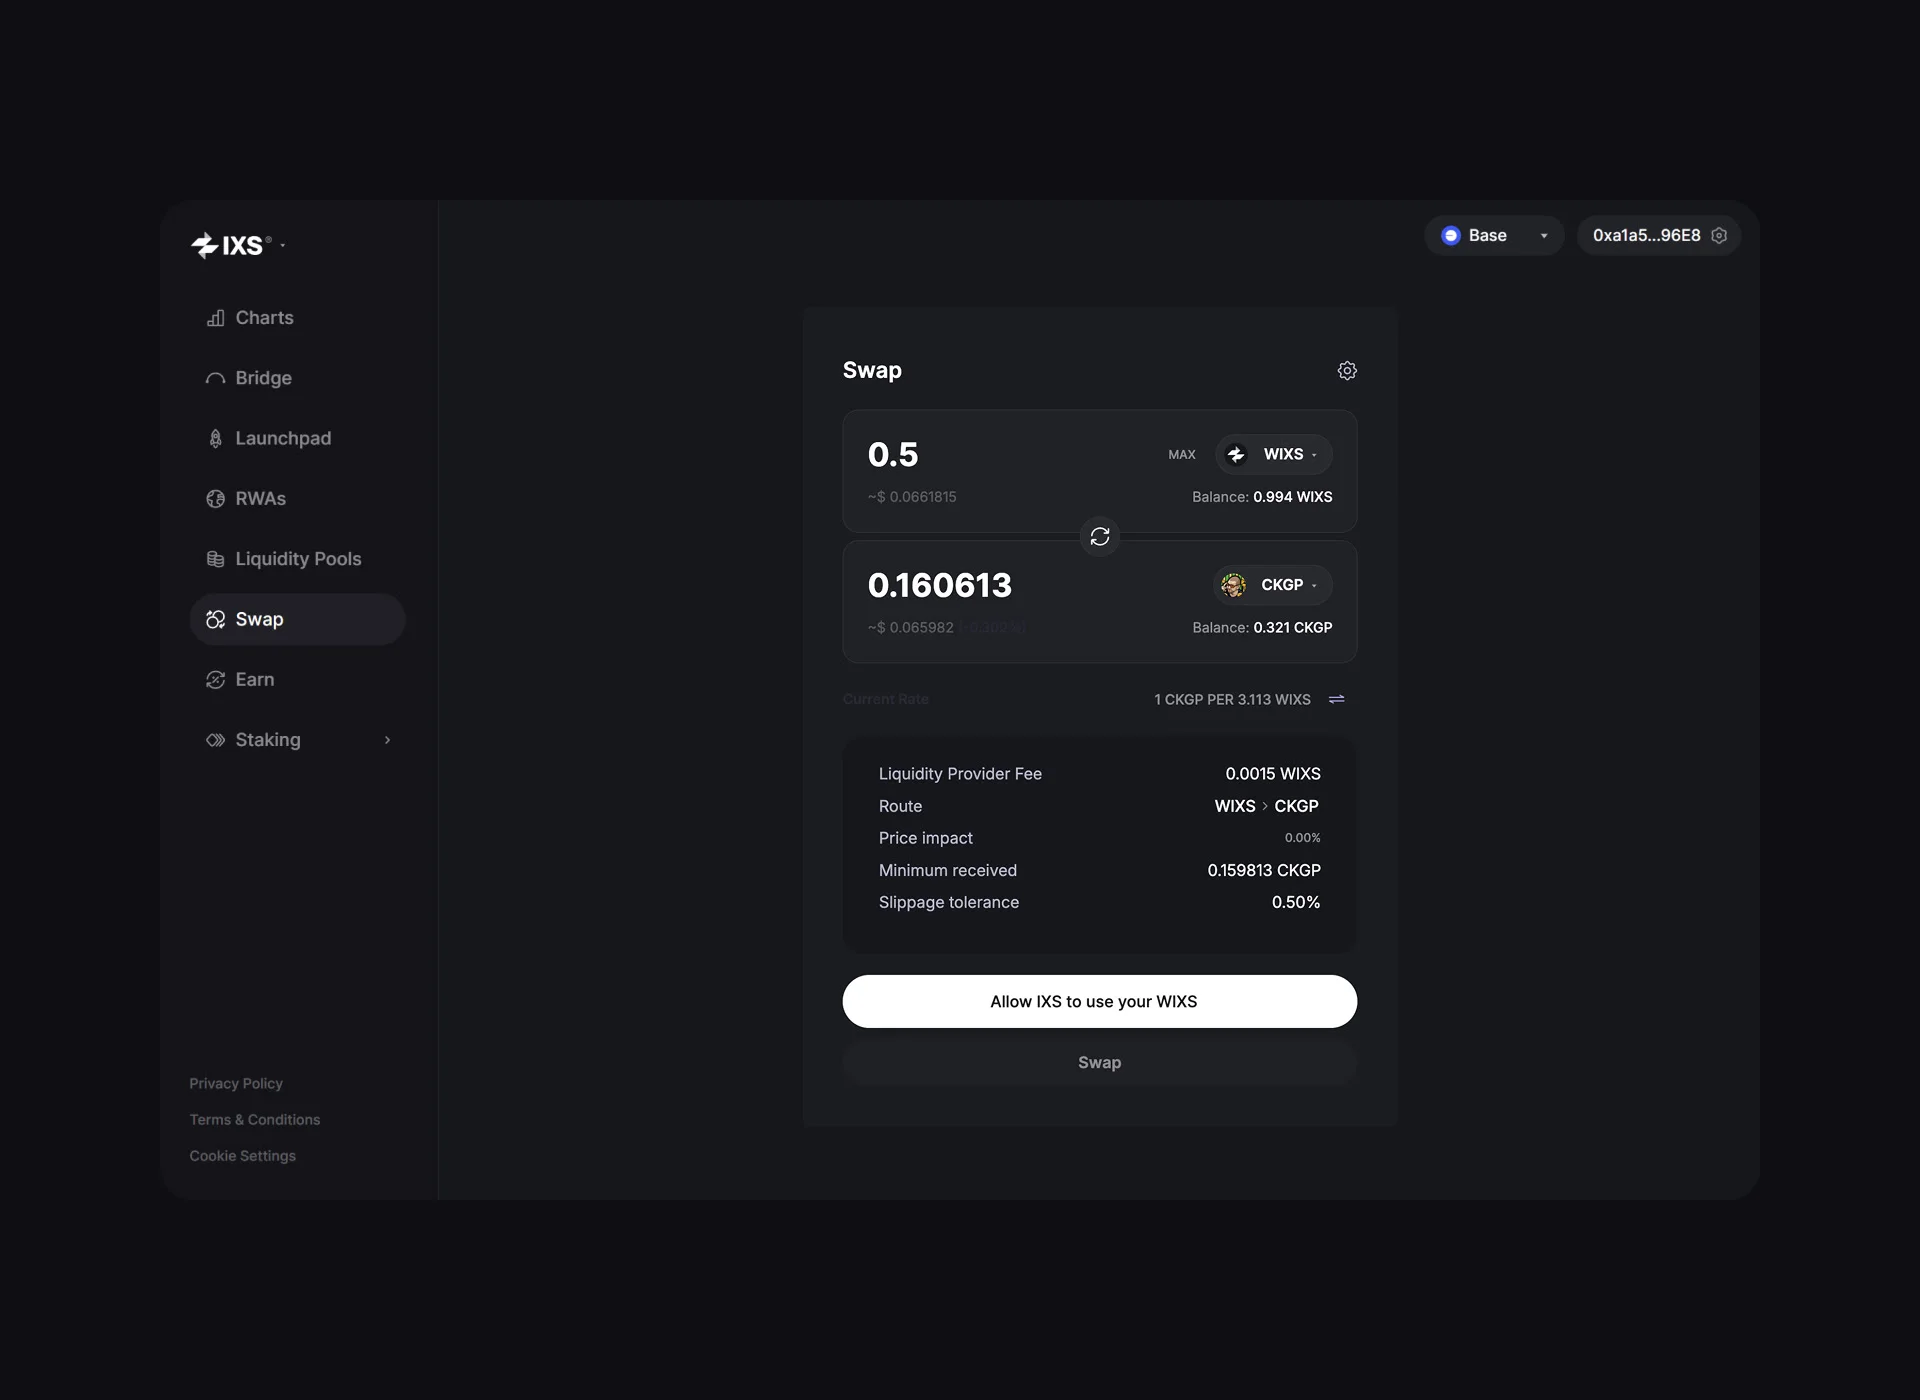
Let's go to the "Swap/Trade" tab and initiate a trade from IXS to IXAPE. In the top field, select "WIXS" as the token to swap from, and in the bottom field, select "IXAPE" as the token to swap to.
Specify the number of IXS tokens you wish to use to purchase IXAPE tokens. Click "Allow IXS to use your WIXS."
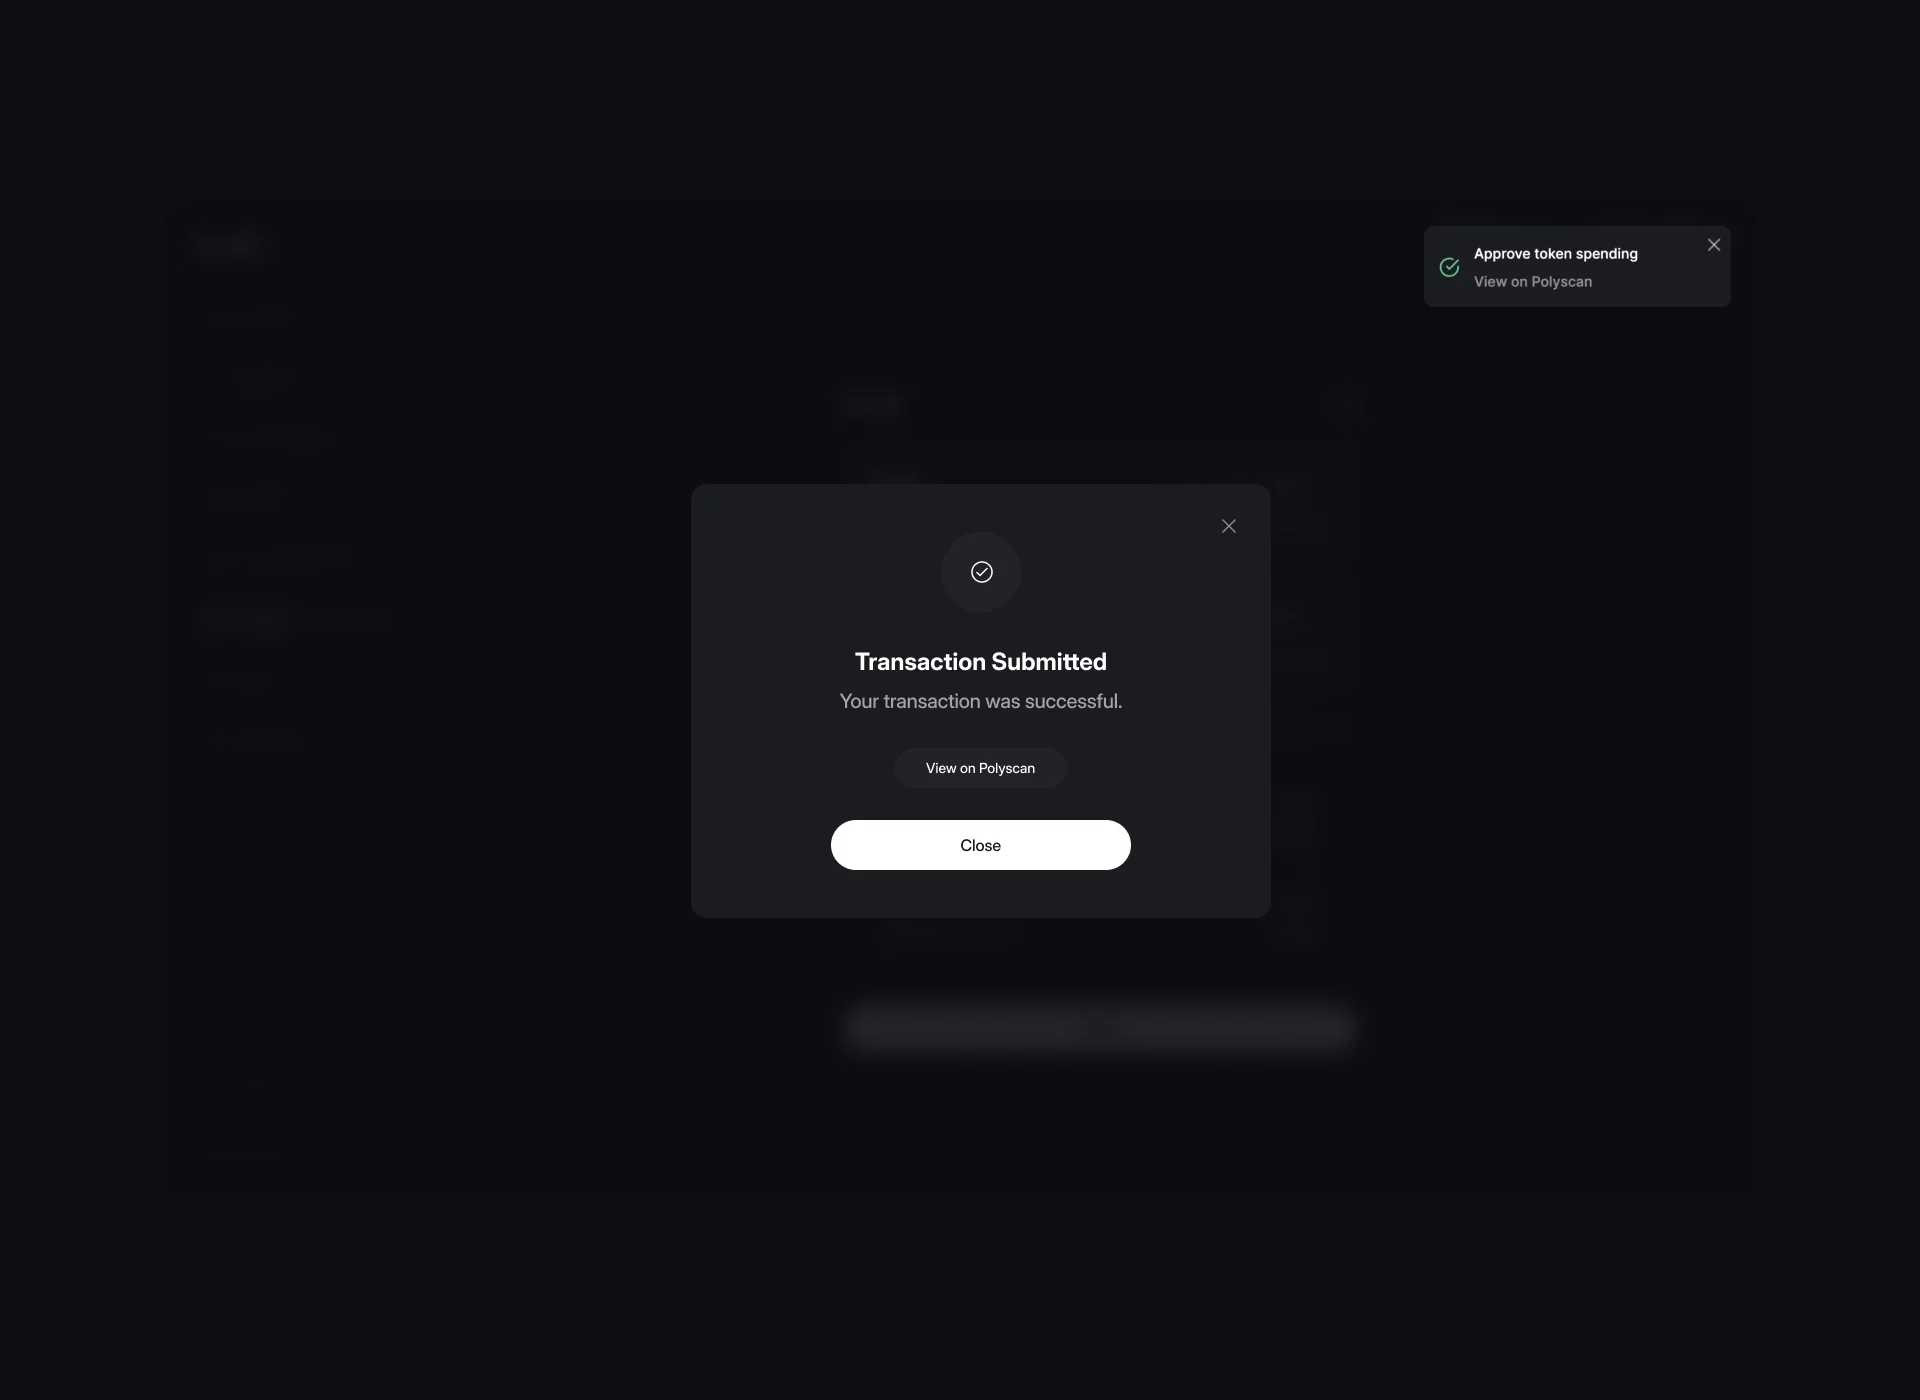
MetaMask should pop up, asking for confirmation. Click "Confirm," and wait a few moments for the transaction to be completed. Once the transaction is complete, click "Swap" and then "Confirm Swap."
MetaMask should again appear and ask you to confirm the transaction. Once you've confirmed it, the transaction will be complete.

You can check if your tokens have arrived by either opening up your MetaMask wallet or checking your balance on the Token List.
For more information, come to our Telegram Channel for assistance form our moderators or send us a message through our contact us form.